Skull

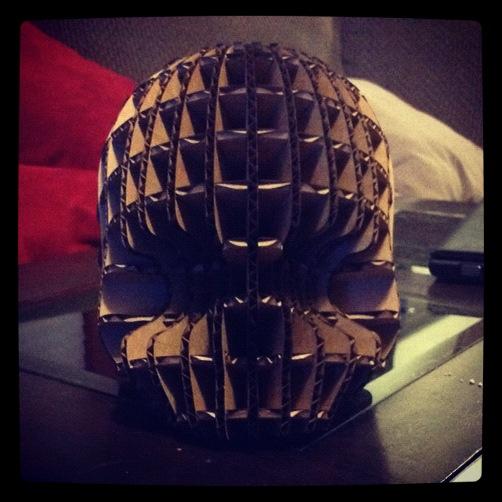
It took quite a few steps to get this end result.

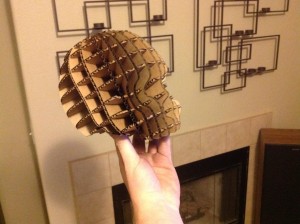
It all starts with a 3D model of a skull which I found online. It was manipulated in Blender to get a model I liked. Once I had it the way I thought would be best, I then exported that to Autodesk to slice up the model into intermeshing sheets.

The slices then had to be exported to a PDF, since that was the best way to get to the next step; Inkscape. After importing each page of the PDF into Inkscape, as a new document, I was able to manipulate the actual paths of the slices. This let me label each piece, and lay them out onto documents that were sized for my specific laser bed.

Only after each of those steps were completed, was I able to cut the pieces and put them together… only to find out that I cut the slices to small. Back to step 1 🙂


After all was said and done, I finally had my cardboard skull, which Ive been wanting ever since I got the laser cutter. Mission Accomplished.

How I built my photo booth

Just like most of everybody else who builds a photo booth, I am making mine for a wedding… and just like them, it’s for my own wedding. I was planning on putting the booth into my game room after the wedding and using it with friends during parties and what-not… Apparently photo booths are also the latest craze in weddings right now, so I decided to make it good enough to rent to others to enjoy at their events. Below, you can see how I started, and ended up building my booth, which has now been named the Best Shot Photobooth.

Let’s skip ahead into the build by a couple weeks. Here you will see the basic structure of the booth, which is plywood put around a 2×4 frame. The front face has been routed out with beveled edges to give smooth, rounded corners for the camera, lights, and computer monitor.

I haven’t been following anybody else’s design or layout, but instead just going off of what I think of when I picture a classic photo booth.

The component part is big. It’s big on purpose. Why? Because that’s what the older photo booths looked like. They had to have all that photo processing equipment in them. I wanted my booth to resemble what I’ve grown up to know as a photo booth. My design isn’t the most space efficient, but I’d rather have it this way than a skinny kiosk-type booth. Dont get me wrong, those are just fine, but I want this in my house at some point, so I get the final say on the design 🙂

The entire booth comes in 4 pieces. The computer component side, the seat, and the roof + floor. The floor latches from the insides to the other 2 components and the roof gets bolted down with wing nuts. This is what makes the entire setup portable. Granted, it’s made out of wood, and therefor pretty heavy… but it’s still easily managed with a dolly.

Anyways, I decided to stain the entire booth a nice mahogany color.

Unfortunately, I was finding it difficult to get a good color scheme figured out.  Black kind of worked, but it’s a bit boring. The gray and silver below didn’t work at all, but I was more or less just testing with what paints I had in my garage at the time.

(more…)

Lazor Blades

It’s usually a pleasure to work with my laser cutter, but as with most things, there are a couple annoyances here and there. One thing is the honeycomb table that came with the cutter.

While it does a great job at holding up a work piece, and usually keeps from marring the material, its giant borders can get in the way pretty often. If I try to cut anything while it is resting on the border, on the underside of the material, it will get way too hot and end up melting or burning the piece.

Since I couldn’t move the borders any further, I decided that I needed a different solution for holding up a work piece, while still having a small enough footprint on the piece to let the laser beam go over it without marring the material.

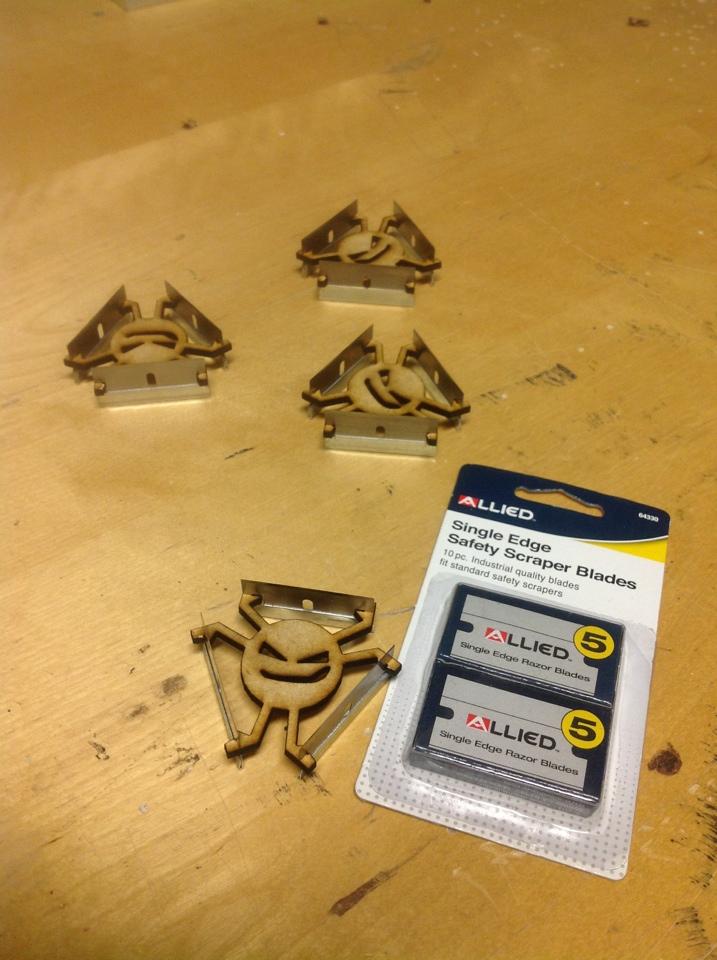
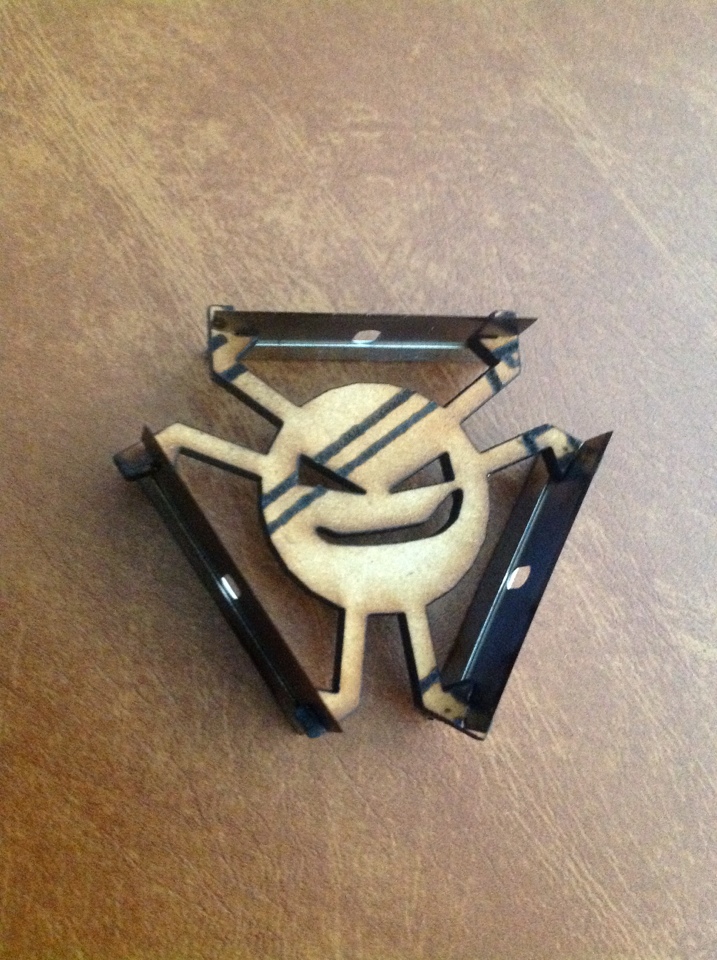
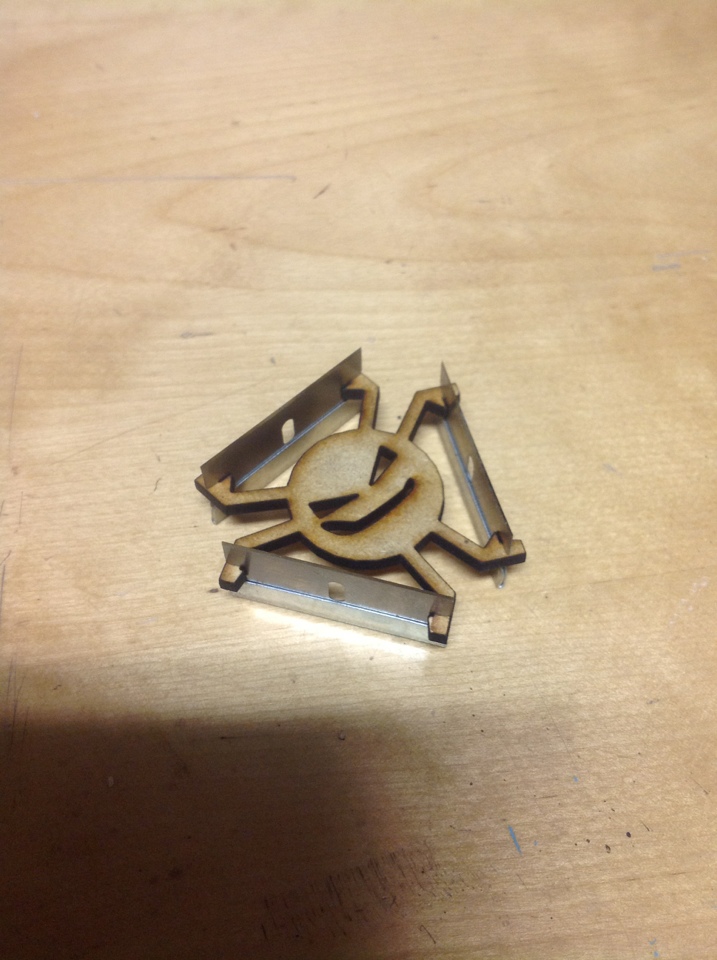
In the industry, there are basically only a couple standard ways to do this; honeycomb tables, and knife edge tables. I didn’t exactly want to lay down the money to buy a knife table, but figured I could instead make my own with some simple razor blades. This is the result.


These little guys are perfect for me for a few reasons. For one thing, they are movable. I can place them under any part of a work piece, without having to worry about it being in the way.

The actual Lazor Blades (the wooden holders) are set about half an inch below the work surface, so that means by the time the laser beam hits them, it is unfocussed and will not totally cut through them. As you can see in the photo below, they do, in fact, get marred by the laser. I was expecting this to happen, and for that reason, I pretty much classify these as a dispensable consumable. Whenever the ones I have get used up, I just cut some more. It works out pretty nice 🙂

If you want some Lazor Blades of your own, make sure to grab the file from Thingiverse and cut some out!


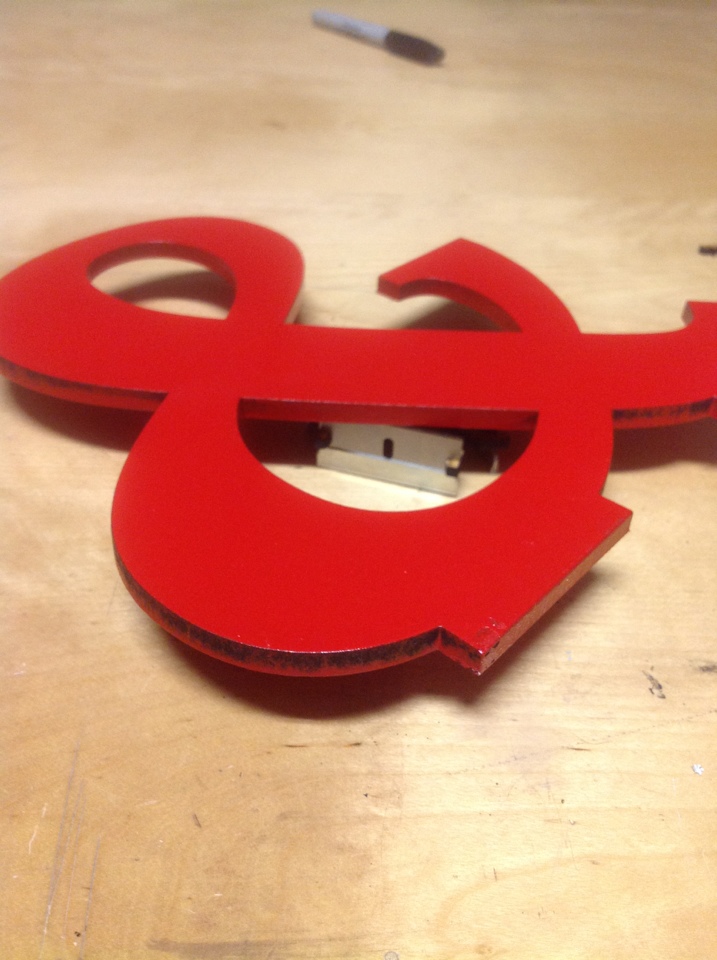
PS: They’re great for all kinds of things, not just lasers! For example, spray painting, as seen above

Shutter Shades of Disapproval

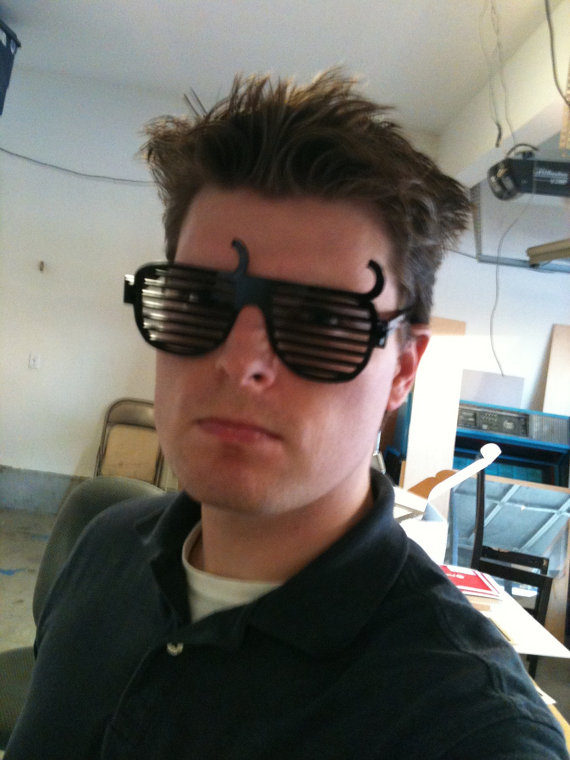
A spinoff of my original Glasses of Disapproval, the new Shutter Shades of Disapproval are the latest thing to come off the laser production line, ready for sale.

I’ve been playing with the design of the arms of the glasses. The original glasses had basic arms that you would just stick through holes, built into the frame. Sure, it worked, but it seemed to me like there was plenty of room for improvement.
The new glasses are designed to have the arms “grab” onto the glasses, with a slight ‘snap’ to it. Something that every engineer already knows: everything is a spring 🙂

I may still refine the final clip, but I feel this is much better, and will even help prevent the arms from breaking, say if accidentally sat upon. Now the arms will just pop off the frames, instead of shattering everything.

If you want a pair of Shutter Shades of Disapproval for yourself or a friend, you can buy them directly from The Plasmatorium

What kind of plastic did I find?

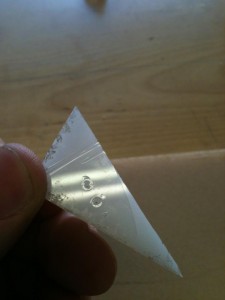
Basically, I went to my local hardware store and just happened to find a few pallets worth of 6mm plastic sheets. I asked around as to what kind of plastic it was, but nobody really knew what I was asking. It was $3 for a 4×1 sheet, so I grabbed one to see what I could do with it.

Im not really sure how to determine what type of plastic it is, or if it’s safe to use on my laser. Obviously, if its PVC, its a no go. If its something I can use, then I think I may have just found a good source for cheap sheets locally.

I gave it a quick burn to see if I could detect any chlorine from the fumes, but couldn’t smell anything. I dont exactly want to use that as my only test, though.
Any leads or roads I could go down on figuring this out?

Settlers of Catan Chest

I love Settlers of Catan. It’s quite a versatile game, letting you add expansion sets and change the entire game. After adding our first expansion set (Seafarers), I’ve noticed a huge problem: part management. With literally hundreds of pieces, and hundreds more in each expansion set, the game can get out of control when you want to put it away back in its box.

I’m not the only one who has noticed this problem, and many others have taken the matter into their own hands and created storage solutions tailored to their preferences.

Well. Now its my turn.

…and I have a laser.


I’ve been dabbling in Google Sketchup for making a lot of small stuff, so I figured I would use it for the chest. After some sketching on paper, I decided to make my chest have slide-out drawers, which would hold all the pieces for the game. Each drawer would separate the pieces into types, giving a natural way to organize the pieces, without having to put them all in baggies or other storage medium.

Heres some prototype designs of the drawers Ive been playing with over the past few weeks. I’ve been tweaking things here and there a lot, but they are pretty similar to what the end result will probably be.
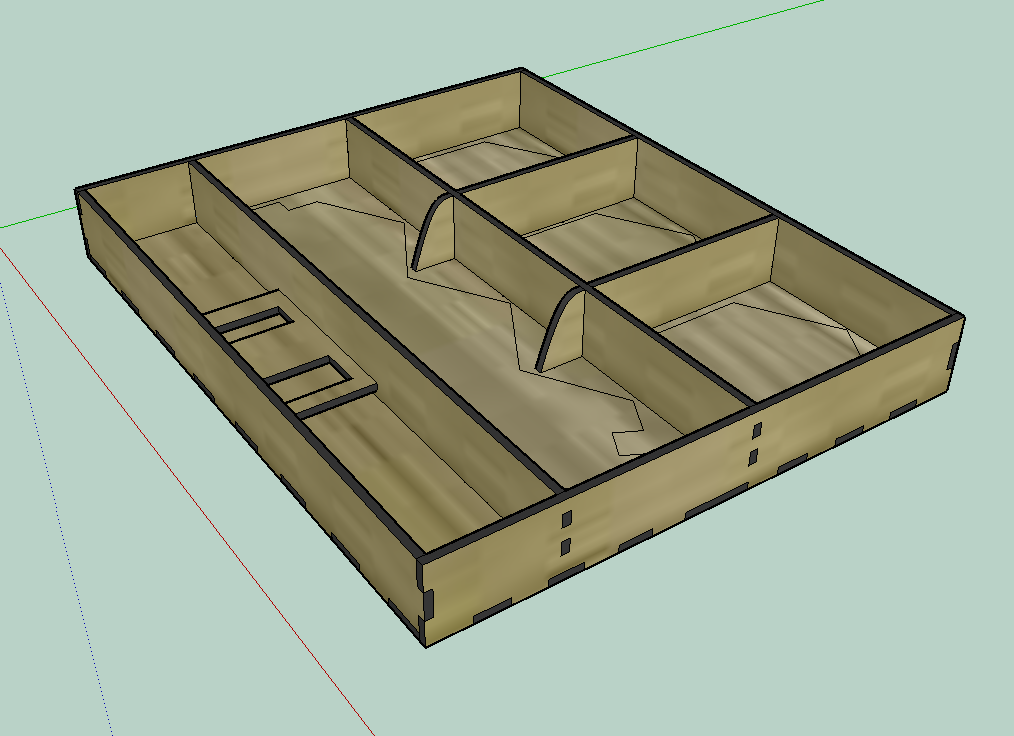

This drawer was the first one I modeled. It took a few revisions and a lot of measuring to get to this point. Basically, to make sure I got all the measurements nice, I created copies of the actual pieces, painstakingly by using a micrometer and some geometric equations. Once I had the game pieces retraced on the computer, making the rest was easy.
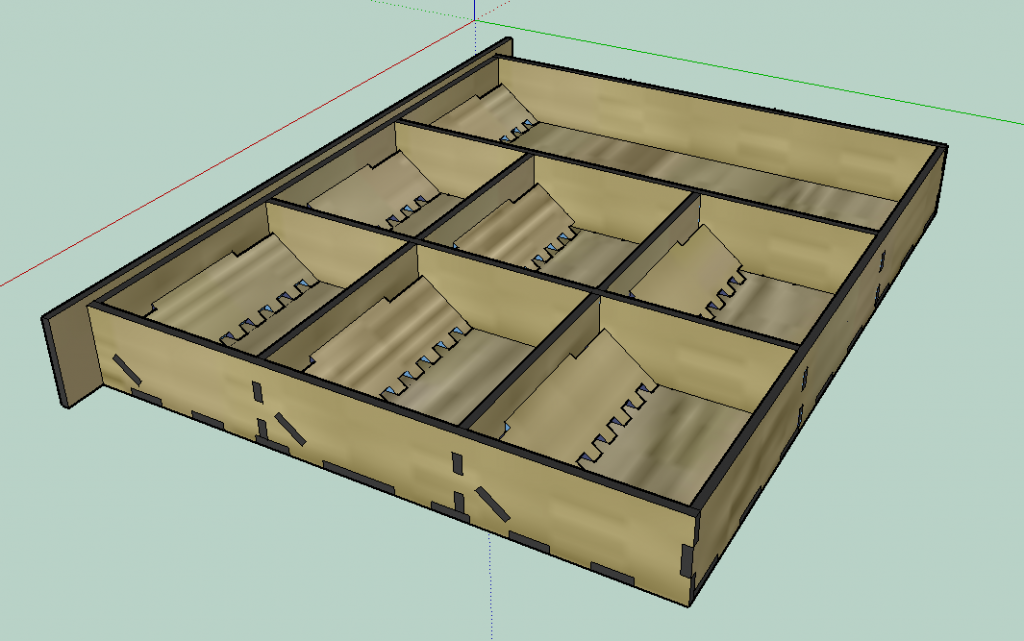

My second drawer, the one which holds all the small pieces, started as a basic grid, but once I laser cut it and made it using cardboard, I quickly found out that the pieces were way to small to get out of the compartments easily. I had to turn the entire drawer upside-down. This wasnt going to cut it. I later put in the ramps you can see above, hopefully making it easily to “scoop” the pieces out by hand. It will have to wait until I make another cardboard prototype to see if it works as intended.
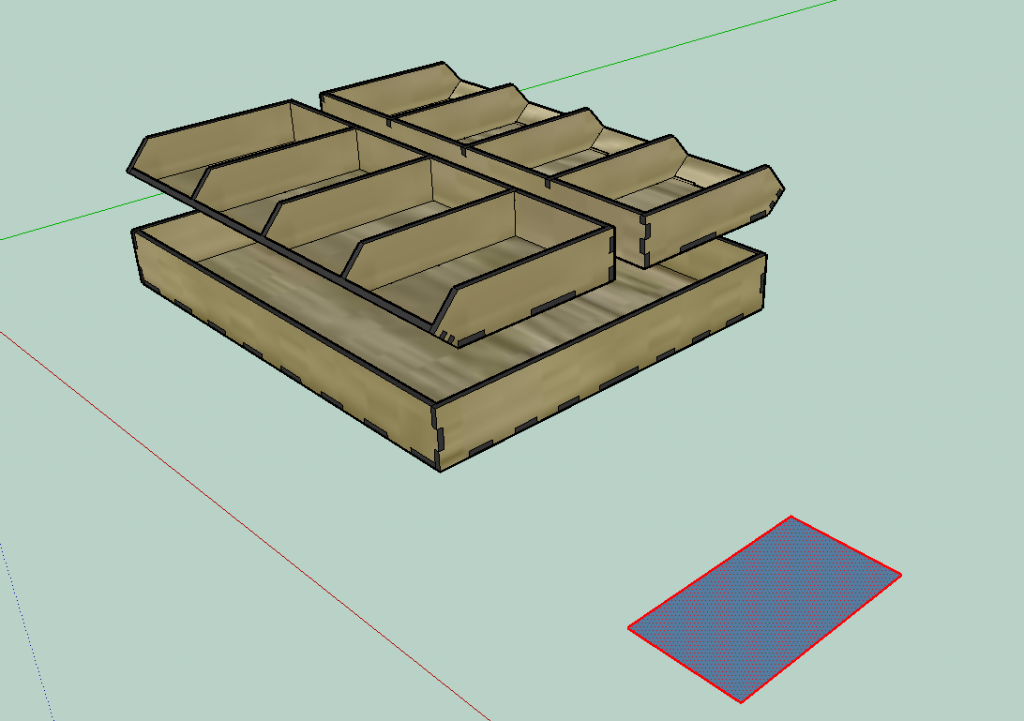
The drawer for the playing cards is actually just an empty drawer which holds removable trays. The plan is that the trays are used during gameplay as a way to keep the cards organized on the table. This is always a problem while playing Settlers of Catan: the ‘bank’ always gets destroyed. By putting them in a holder, the cards will stay separate and still be easy to grab, due to the angled edge.

Still working on ideas for the actual chest itself. It’s definitely doable, but I’m just trying to figure out the best way to do it while still making it work with expansion sets, and various other design issues.

Keep watching here if you are interested… also, let me know if you want to help me beta-test a chest once I get some made! 🙂