Gave this as a Valentine’s Day gift
As soon as I learned that her favorite candy was Skittles, and that her favorite alcohol base was vodka, I knew exactly where to go from there 😛
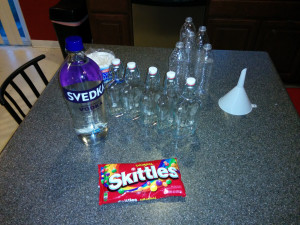
Step 1: Get your crap together, man
Found the bottles on Amazon… a lot more expensive that I had hoped, but oh well. She’s worth it. As per the alcohol, I knew you shouldn’t buy an AMAZING vodka, since the candy would be ruining your vodka (like ketchup on filet mignon)… but I certainly didn’t want to get bottom shelf either, since that would taste just as bad… Svedka is a good choice 🙂
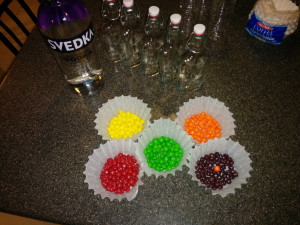
Step 2: Piss off those with OCD
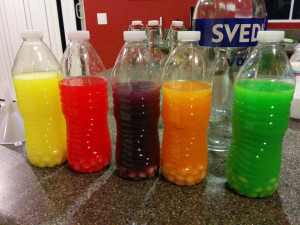
Separating the candy was the fun part… and no, I most definitely did not eat any…
Step 3: Start the liquification!
Water bottles were used, so I didn’t get any candy gunk on the inside of the nice expensive bottles
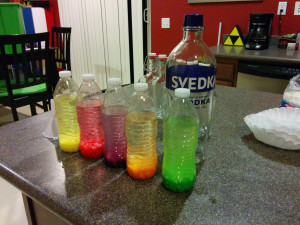
After about 10 mins
10 minutes in, the color was already becoming quite vibrant. I let them sit for a few more hours to let the candy COMPLETELY dissolve.
Step 4: The extra mile
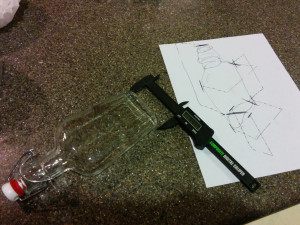
While the vodka was sitting around, I started the other part of the project. Tons of people have made Skittles Vodka. I had to do something extra. So I started taking precise measurements of the bottles.
Step 5: Replicate!
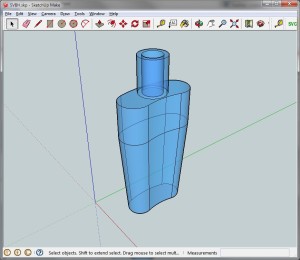
Once I had adequate measurements, I was able to model up a copy of the bottles with “good enough” qualities that would help me make the display case. (I mainly needed to know the angles and height of the taper, so it didn’t really matter that the top looks nothing like the actual bottle)
Step 6: Case of displaying
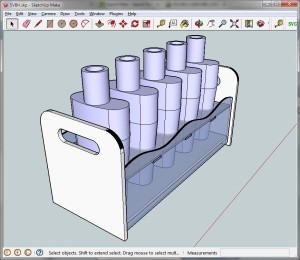
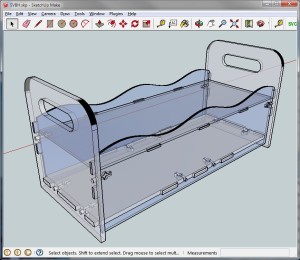
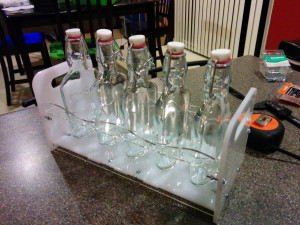
It was crunch time, so I didn’t have time to do as much detail work as I had wanted, so I just made a basic and simple model that would just HOLD the bottles (as opposed to looking amazing, like I had first pictured)
Step 7: Final engineering
Had to put in the last of the tabs, notches, and bolt holes for the holder.
Step 8: Off to the printing press!
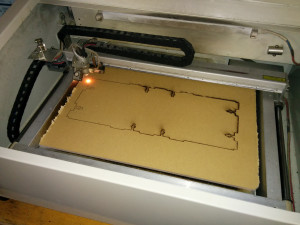
And by printing, I obviously mean lasering. Cutting out all the shapes out onto both 1/4″ and 1/8″ pieces of acrylic.
Step 9: Testfit
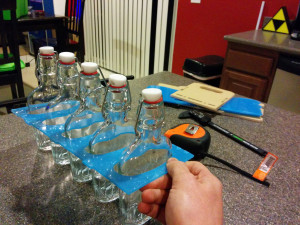
This is where I had to make sure that the important pieces actually fit the bottles. Turns out that my measurements and model-replication were pretty dang good. That’s pretty rare for the first try 😛
Step 10: THAT PEELING FEELING
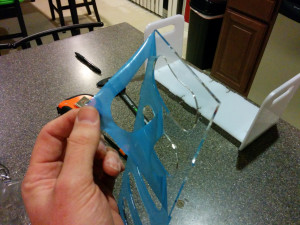
The best part of ANY laser work: That Peeling Feeling.
Step 11: Ready for the pour
What I had planned to do was laser a stencil on the sides with a rainbow cutout, and the words “Drink the Rainbow” on it.
Although I didn’t have time to do it then, since this case is using a bolt-together design, I’m going to do the artwork and cut out the supplemental pieces and bring them over and replace the boring ones on the case with them as a surprise. I’m sure there will also be a few other design changes as well… got any recommendations? 🙂
Step 12: Filter the madness!
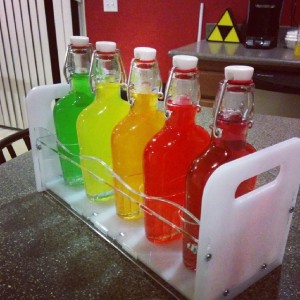
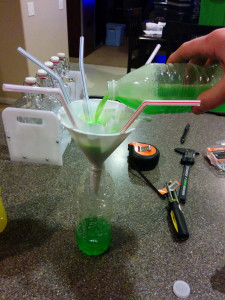
All the Skittles had completely dissolved by now, so I ran each bottle through a coffee filter two times, to get the sugar gunk out, leaving nothing but a translucent rainbow of sacchariferous Swedish fire-water. (Figure out the straws yourself. You seem like a pretty smart dude)
Ready to give!
So when are ya going to surprise me with the sketched drink the rainbow sign? 😉 lol